Tenlog TL-D3 Pro Squashed Prints
How to fix Tenlog TL-D3 Pro Squashed Prints
This isn't one of my rambling blog articles; it's about one specific problem that took me four months to realise was even an issue. Eventually, after printing yet another two-piece item that didn't fit together, the penny dropped that all the prints from my Tenlog TL-D3 Pro were being squashed.
By July 2021 I felt like I had more of an understanding of why things go wrong and what I should adjust when they do. My 3D printed mandalorian helmets were looking good and doing well enough on eBay to make me think I could buy another printer. One to help with the queue of stuff I wanted to get done, by both increasing my capacity and adding new capabilities.
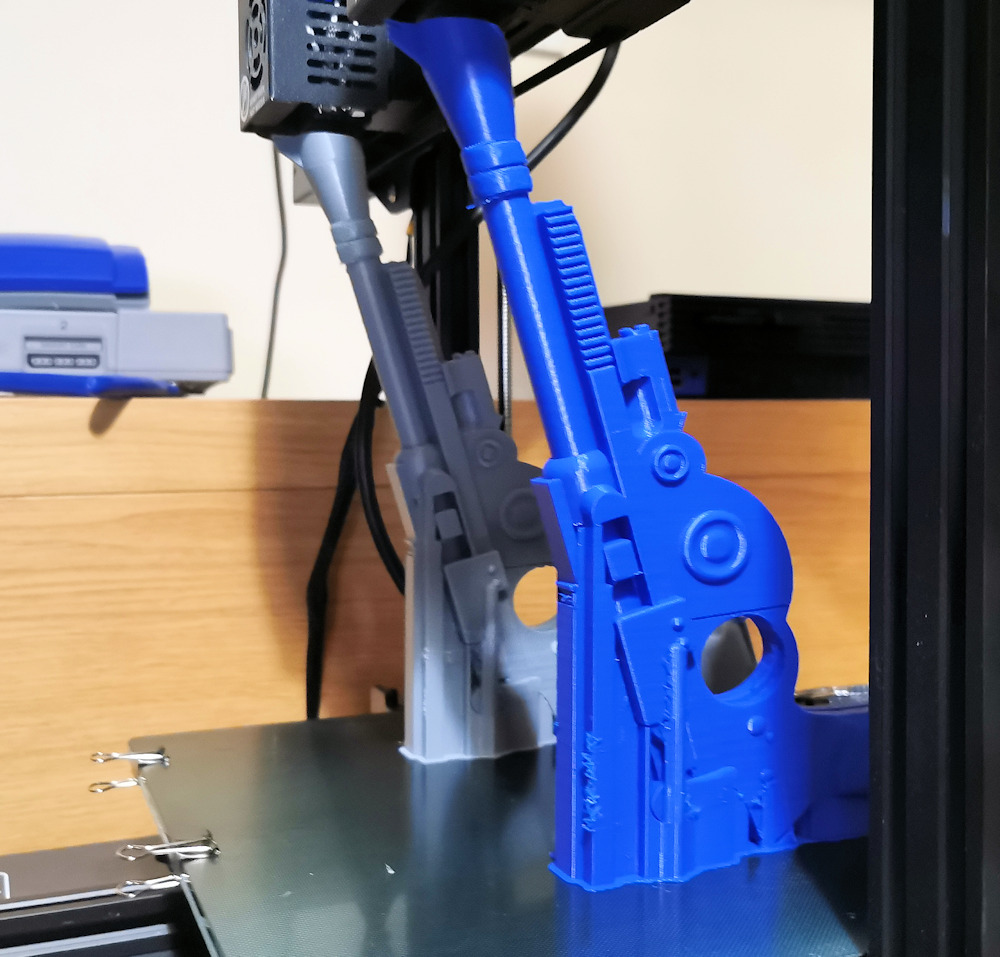
I went for a Tenlog TL-D3 Pro just because I searched for dual extruder printers and it popped up on a great deal. I immediately liked it and the quality it achieved and of course I ran a few test prints, but I was concentrating on the dual extruder aspect at this stage.
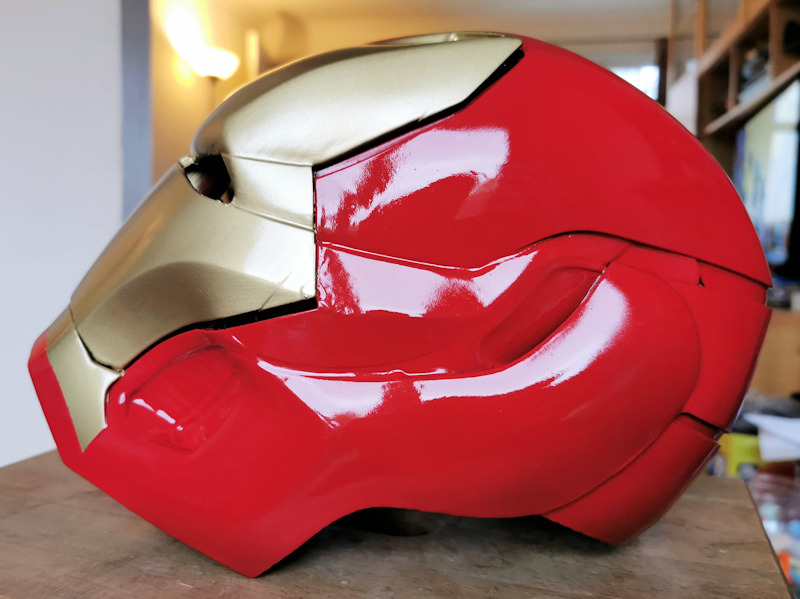
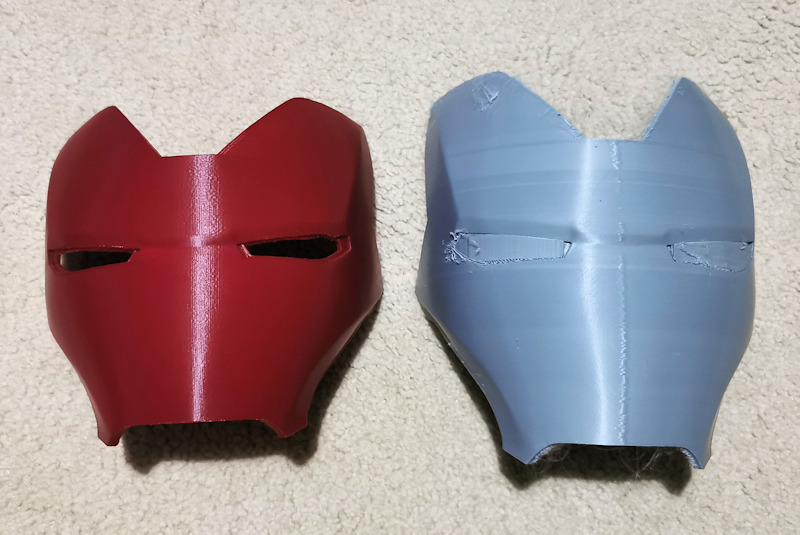
I started printing new things and when something like an Iron Man helmet or a Hallowe'en pumpkin wouldn't assemble properly I blamed the 3D model and moved on. I had a lot to get through before Hallowe'en.
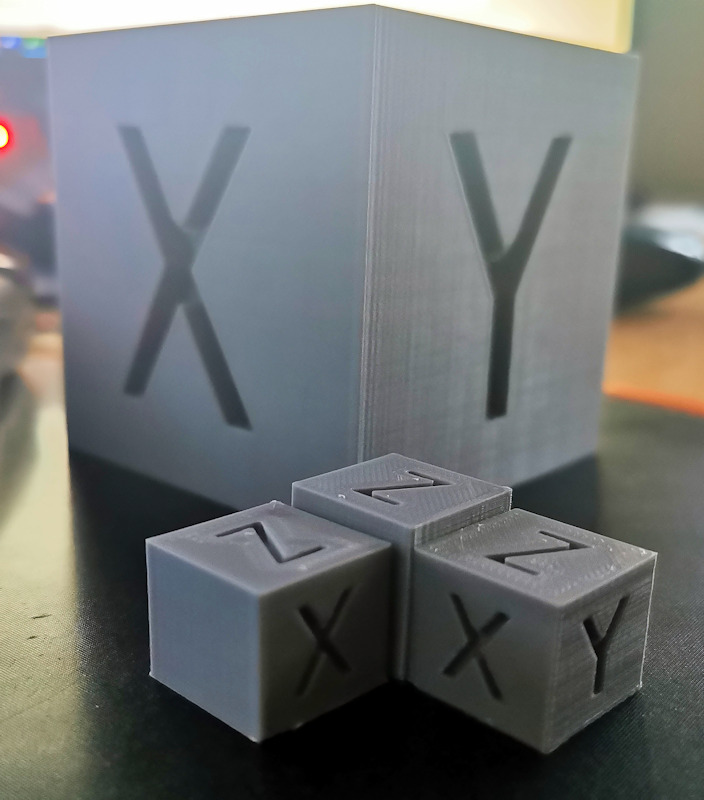
In November when the dust settled I thought back and realised that every print I'd had to assemble was badly fitting and so I finally thought to print an XYZ cube. This showed that my Z axis was squashed badly enough that I probably should have noticed if I'd been paying attention.


The document on the Tenlog USB stick mentioned Repetiere-Host, but was in Chinese so I also Googled "how to adjust the Z steps on a Tenlog TL-D3 Pro". All I found were generic articles directing me to Pronterface so I installed both and spent about three hours watching YouTube videos and trying to get either program to communicate with the printer.
Eventually I gave up and started cursing myself at being conned into buying the Compaq of 3D printers - one that was imcompatible with all the usual stuff you'd expect to work on a standard spec machine.
Then I looked at the printer's screen, saw the settings button and pressed it.
Within the settings screen is a box to simply overtype the Z axis steps. What a revolutionary idea! It's the future! I changed that to 800 and printed a small XYZ cube and then a much larger one to really get my calipers round.
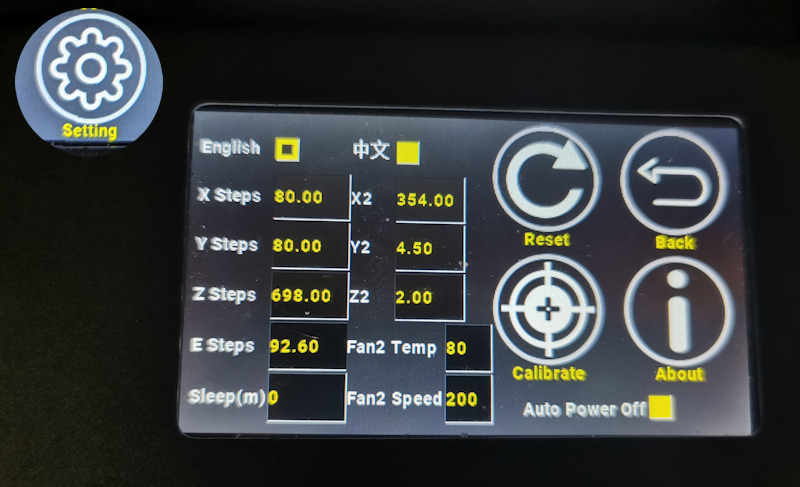
So, the answer to "how do I change the Z steps on my Tenlog TL-D3 Pro?" is: type it onscreen. You're welcome.