3D Printing 03 (PLA): Graduating Nursery
3D Printing 03
As I said in a previous "what I wish I'd known" story, I took up 3D printing. You don't just "buy a 3D printer" by the way. Oh no... you commit to spending your free time learning thermal engineering and trying to minimise the amount of plastic waste you are responsible for.
In my previous article I naively wrote that anything that could go wrong had done. I also inadvertently described the beginnings of the next problem to occur. Plus, not content with angering the fates, I gave some bad advice on printing helmets too.
Firstly, I'll put right a wrong. It is not a good idea to print a helmet upside down like a bucket because after you remove the supports that stopped it rolling around the print bed you end up with something that looks like you made it yourself with a waffle iron. The crest/mohawk or whatever it's called needed totally reshaped and I don't have the skills for that, so it was... less than parallel. It turns out it's a better idea to explore what fancy stuff you can do in your slicer, like using plug-ins that let you turn off supports in selected areas.
If you print a helmet right side up without any support for the dome it will print perfectly fine on the outside with a slight straw-like texture on the inside at the very crown that you can easily put up with.

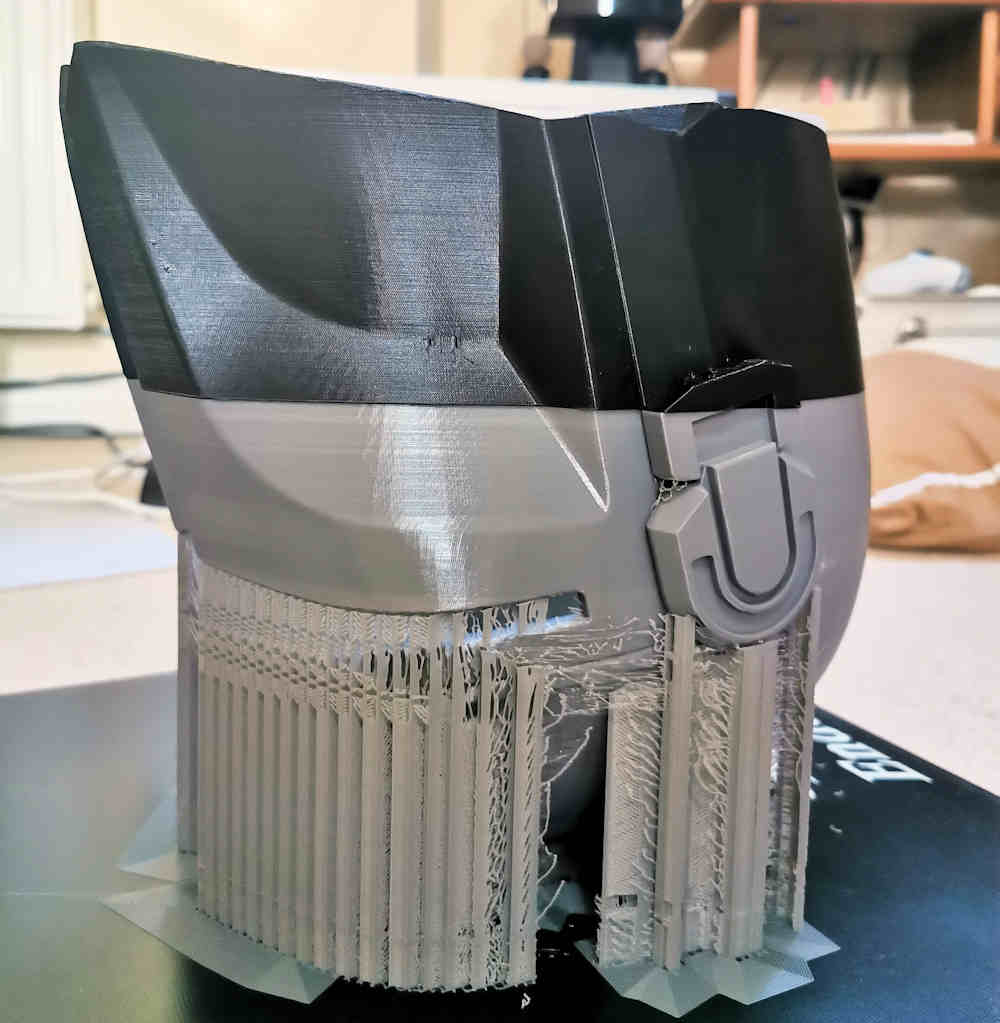
So, in case you've forgotten, Mandalorian helmet 1 was interrupted due to The Incident and turned out to be too small anyway, even at 130%. Helmet 2 came out whole on silver PLA but looked like your bum would if you sat on this (see left pic) for four days.
It was also too big at 140% and the silver silk PLA seems to have weak layer adhesion that makes it only suitable for decorative pieces. You can break strips off the finished piece with little effort.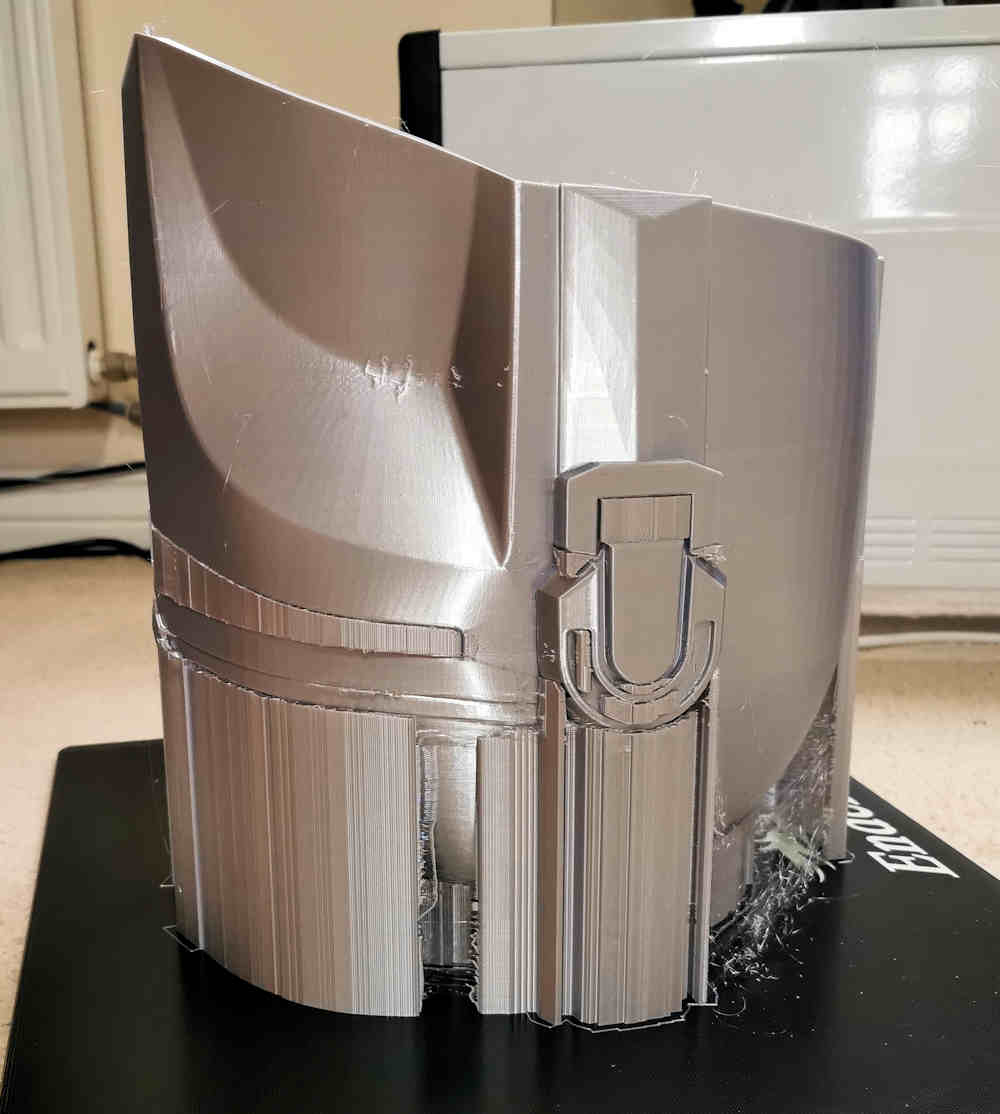
Hot End
Helmet 3 was a saga. I tried printing my previous .stl at 135% but by now the stringing I mentioned in '3D Printing 01' that had led me to believe I'd bought fake Sunlu was off the scale. If I counted every failed start that was tugged off the bed; or every time I didn't spray 3D Lac all the way to the Ender logo and suffered warping, I'd be talking about Helmet 18 or something by now. However I'm only counting prints that got far enough not to end up in the bin.
One day all of a sudden my print quality nosedived. I could see the initial layer looked disgusting and no print would finish. Every single print would end up after a few layers with a blocked Bowden tube, ground filament and the nozzle just dancing about above thin air. The Bowden tubes would need cut just to get the filament out of the hot end and I threw away two good Capricorn tubes after just one use each. I started experimenting with my initial layer in real time while watching the print, Turning the heat way up and then down again I noticed that the layer looked sort of alright when the nozzle was cooling, but really bad again when it was heating up. I knew then, without a shadow of a doubt, that I'd narrowly avoided a Chernobyl type event. Or maybe it was more like when Captain Kirk notices a shrill noise and says "Listen. A phaser on overload" before before pulling it out and lobbing it away seconds before it blows everybody up.
So how do you fix a runaway thermal meltdown? I bought a whole new hot end and, while waiting for it to arrive, I watched a video where a guy just snipped his red heating block cables and white thermistor cables about a foot from the hot end and joined new ones on with fancy heatshrink soldering tubes. I thought "What a neat and easy idea! I'm stealing that" and when the stuff arrived, I copied him.
(Spoiler: It really wasn't.)
When I put my hot end back together my prints were every bit as bad as before. On the verge of buying a new motherboard, I consulted the nice people at Thingiverse and somebody said it sounded a bit like my fan wasn't working.
 |
This was my awright moment. Everything suddenly made sense, including the fact that my noisy-out-of-the-box hot end fan had been nice and quiet lately. Always check the simplest things first. |
Frozen Nozzle
Ok, we're still on Helmet 3 remember. With a shiny new £20 hot end including heat block and thermistor and four replacement fans for redundancy, I also decided to change 3D model files. It had been too difficult blending the ears when I was joining two halves of Helmet 1 together so I found a model that had the ears printed separately. This way, if I had to do it again, the ears would cover some of the seam. That's thinking with the heid!
 This print just stopped printing in the middle of the night with the nozzle mid-wall at the back of the helmet. I tried the trick of switching the printer off and back on again so I could press Resume, but after doing this three times I could see that the printer was trying to print the same section again and again and was starting to grind and also the nozzle was stopping in exactly the same spot every time. This gave me an inkling it was a memory card problem and Googling along those lines seemed to confirm it. I tried outsmarting the printer by putting the g-code on a different memory card and swapping them while the printer was switched off, but that was too effective and rather than me merely outsmarting my printer, I totally bamboozled it.
I reformatted the memory card and resolved to only put one or two files on it at a time in case the printer was using it as a cache or something. Then I printed a partial dome and superglued my fingers to it.
A change is as good as a rest, so here is a list of some other recurring issues.
- I need to watch the bed-levelling process at the start of every print because once in a while the BL Touch probe sticks while doing its 16 tests and the whole print stops.
- Sometimes, the bed slams up against the nozzle and loosens the whole print head so that it wobbles on the axis. Luckily I found out it's easy to tighten.
- I used to know exactly how much drag was required on the paper when I was levelling my bed. Then, suddenly and without explanation, that changed and now whenever I calibrate and press home I need to also change the z offset on the subsequent first print.
- Stringing has now changed to blobs and zits.
- My nozzle keeps clogging and I'm on my second £20 hot end because I bought another spare and it was quicker just to replace the hot end after an especially big blockage and worry about cleaning it out later.
- I can go to my print and find the bed covered in the sort of black crunchy stuff you find at the bottom of your chip pan. The supports look absolutely terrible and If I'd been there the first time it happened, I'd have stopped the print and threw it away. As it happens, I wasn't so I know that this phenomenon settles down after a few layers and the print comes out fine.
Chilled Monkey Brains
Right. All refreshed?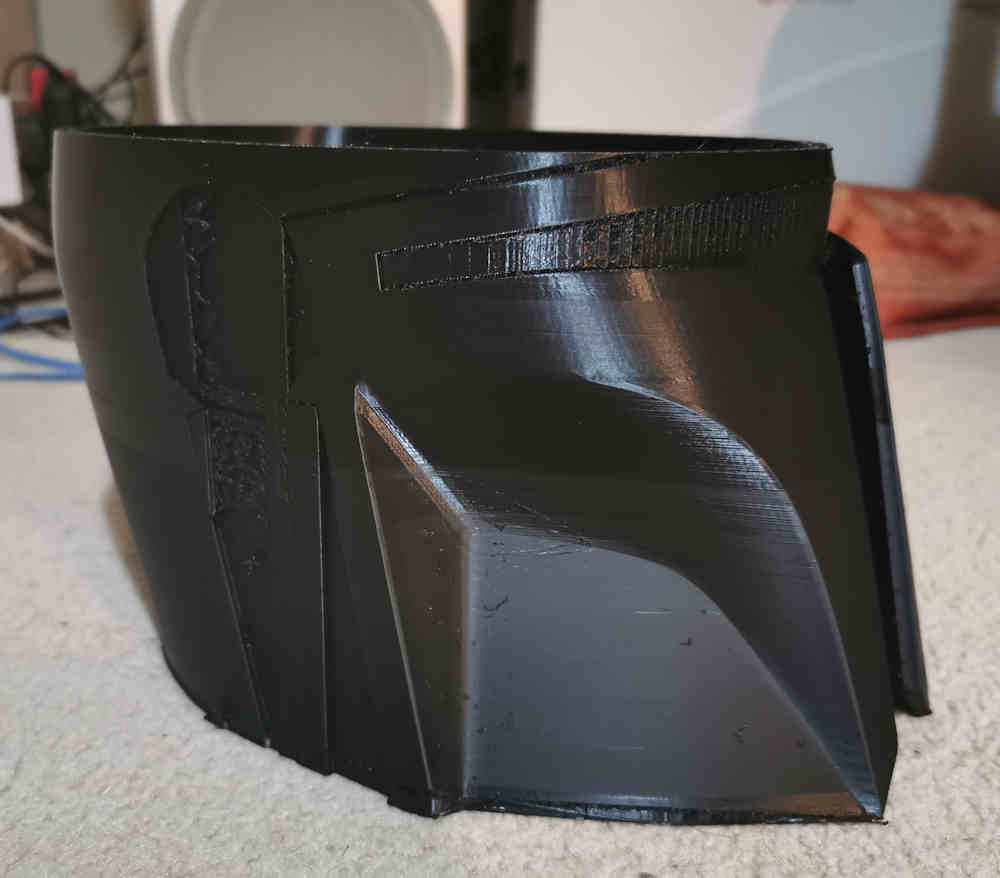
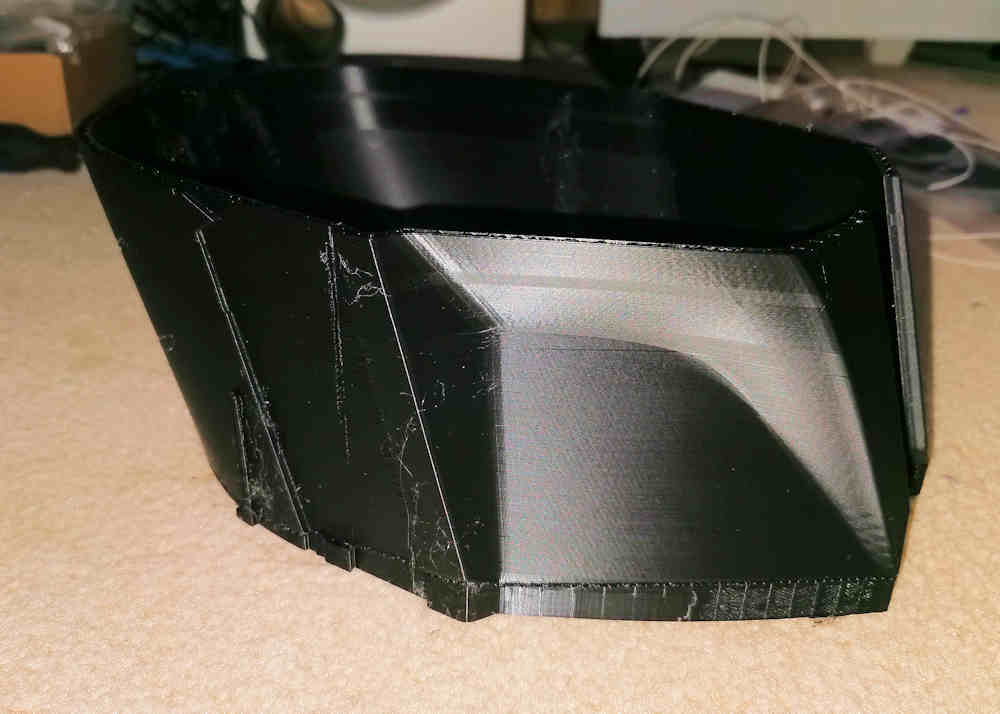
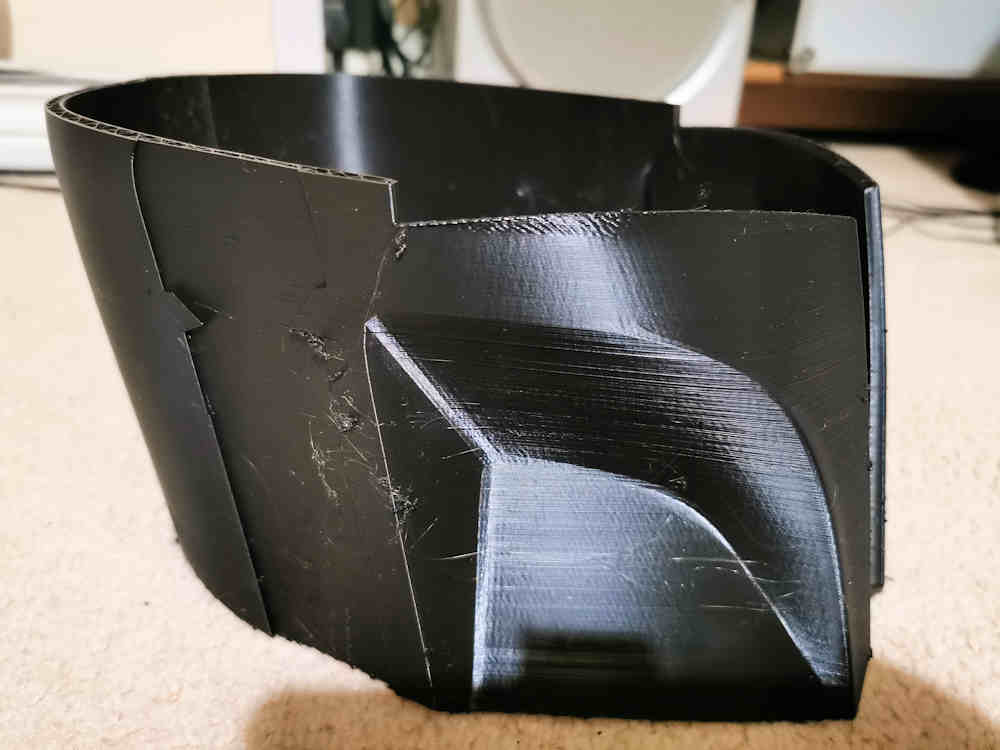
Helmet 4 was to be the one! It was counting up nicely to 100% and I was certain it was going to get there. It did too! In record time. The problem was that when it reached 100% and smugly moved the nozzle into its corner, the picture on the right is what was left behind. Confused, I opened up the g-code in ideaMaker and it showed exactly that. To give the printer its due, it had printed precisely what I had programmed it to. I think... er... nope sorry. I've got nothing.
Answers on a postcard what the hell happened to that print because I don't have a clue.
Helmet 5! Now, this was definitely, definitely going to be the one. And I was going to put pictures of it on Whatsapp with the caption "Ladies and Gentlemen. This is Mando Number 5" and everything. I had it all planned so my family would see that I could do it and I wasn't a failure.
Instead I got up one morning to the most dreadful on-screen message I had seen yet. It was all red and blue and clearly gravely serious. It was saying something about runaway temperatures or open thermistors or something. I can't really remember due to the trauma and shock of the moment.
You see, it turns out that snipping your white thermistor cable a foot from the hot end and splicing it with solder is a really bad plan. It means you have an electrical join in the exact point of the wire that is always in motion and is being constantly flexed. Whose idea was that?
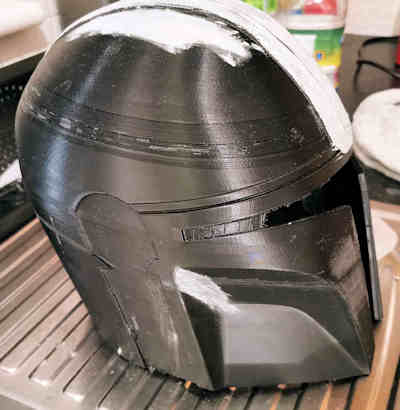
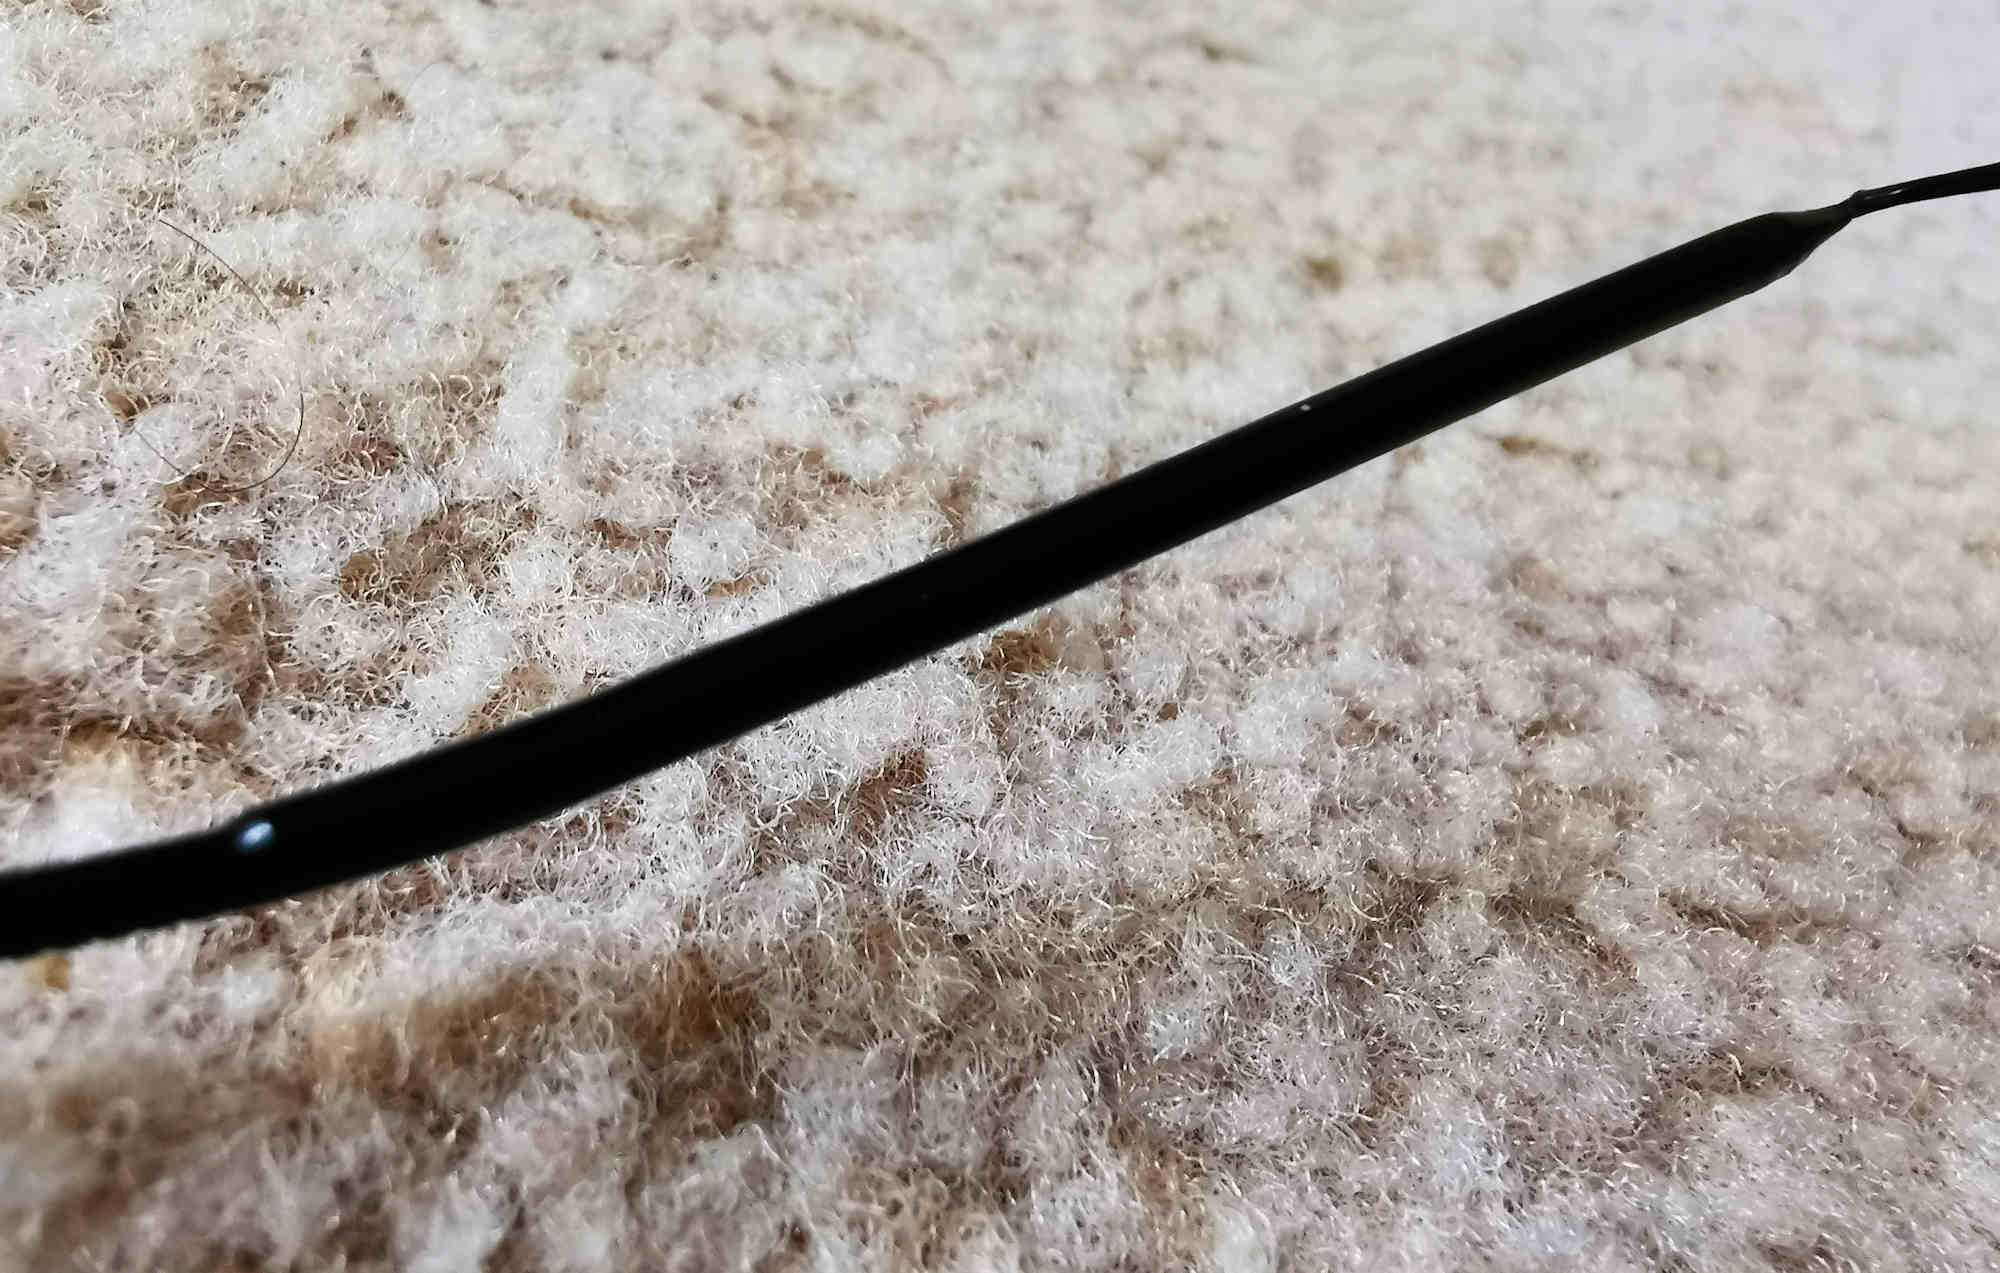
To make matters worse, the dome that I printed for it suffered delamination like I've never seen. Every time I touched it, a strip would come off that looked like that banding stuff you find round packaged white goods. You know that stuff you should cut with scissors, but you can't be bothered going to the drawer so you ease it off by running from end to end easing it off centimetre by centimetre?
The photo is at the top of this article and in hindsight if that ever happens again I'm throwing it away. That would be better than trying to repair it with Perfect Putty as it unwinds and a new strip falls off every time my putty has dried and I think it has stopped.
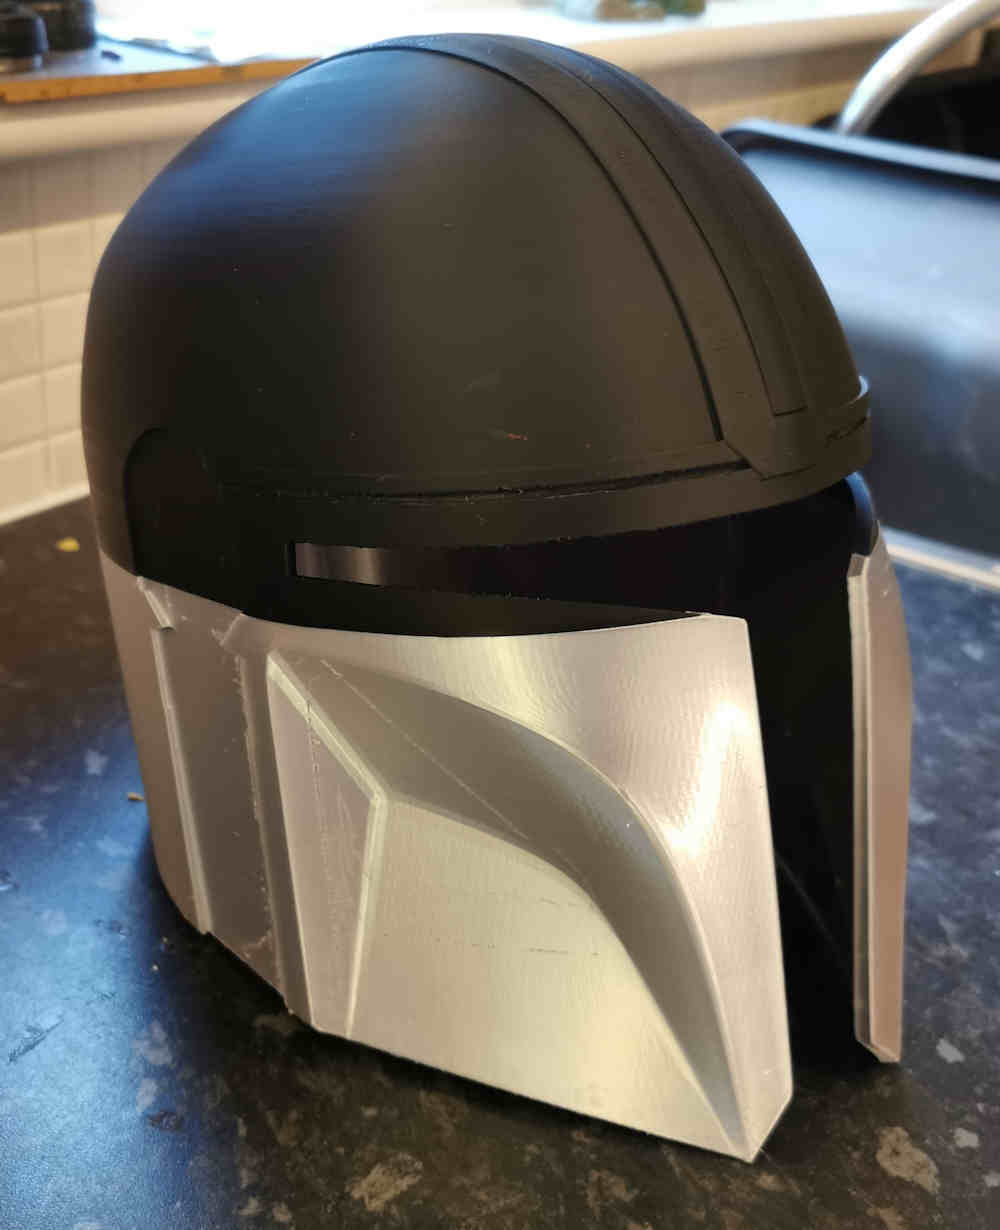
The picture on the left is not just a reshowing of the picture of Helmet 1, by the way. Look it has no ears.
Helmet 6 came off whole!
Following this momentous occurence, I paused, took stock and realised how obsessed I'd been. We couldn't move for Mandalorian helmets so I swapped Helmet 1 and Helmet 3 for rum and tried my best to fix and sell Helmet 2 (the 140% size one). My Mrs told me to stop giving them away so cheaply so I put Helmet 2 on eBay and it generated more watchers and interest than anything else I've ever listed. Considering I thought of it as an early and poor effort, it fetched a pretty penny.
Someone even wrote to me while the listing was live and asked if I could do one for a 5 year old so Helmet 7 was printed at 85% and it came off whole as well.
Helmet 8, however, froze in a familiar way. That was my fault as I hadn't been able to bring myself to throw away that memory card from before and the same thing happened again. It's gone now.
I casually wondered in a casually, paranoid way if it was the start of another round of the same problems again. Sure enough, when printing one of the ears I got the terrifying, hellish message again mid-print.I just remember it had a great, big triangle in the middle. You see, it turns out that snipping your red heater cable a foot from the hot end and splicing it with solder is a really bad plan. It means you have an electrical join in the exact point of the wire that is always in motion and is being constantly flexed.
My next couple of attempts ended with the nozzle zigzagging around a couple of inches above a half finished print, with nothing coming out of it. I consider it a win that it was only happening on ears and 4 hour attachments, though, not the 3 - 4 day helmets.
I resolved to get to the bottom of this and dismantled my hot end for a proper look this time after watching a video showing the proper way to install a Bowden tube. I suddenly realised that, even when cleaned out, my Bowden tube was not coming all the way down the heat break. On both of my £20 replacement hot ends the tube was sticking halfway down so solidly that I'd assumed it was hitting the nozzle, but it's as if the heatbreaks were tapered or something. I dug out the hot end that I'd removed when my meltdown happened. This was the original hot end that came with the printer and I could see that the Bowden tube came all the way through and stuck out the bottom end if there was no nozzle to stop it. Looking back, my original level of panic was possibly unnecessary and I could see this was a perfectly good hot end, still.
While I was about it, I thought about some of those other problems listed above and changed some Cura settings. Turns out I get better quality if I don't set walls, infill, travel and support all to very different, arbitrary speeds. I also experimented with PETG filament and for that reason realised that I could solve my weird, crumbly mess by increasing my bed temperature. 35 degrees was a great temperature in September when I had my first successful print, but it's not so effective in February.
Leaving the printer to get up to temp for five or ten minutes seems to be making the BL Touch a bit better behaved too.
Cold Turkey
 I now have new confidence in my set up. I feel that everything I've learned and put in place means I've met the challenge of printing a helmet in one go. I was so sure, I decided to print another oversized helmet in case that was why my eBay listing was so successful. Perhaps I should position myself as the Jacamo of Mandalorian Helmets? Helmet 9 came off in one piece, even sized at 108%.
So, obsession beaten! All I need to do now is perfect the art of painting and finishing. And, of course, there's no harm in me keeping on and on printing helmets forever until I'm satisfied, because I know I'm not obsessed.
I also know - absolutely - that Helmet 10 WOULD have come off whole today, except that I accidentally chose "touching build plate" instead of "everywhere" for the supports and I had to deliberately stop the print myself when I noticed that the top of the eye slot was going to try and print over thin air.