3D Printing 02 (PLA): Slicer Settings
What's Hot and What's Not in Your Slicer
This is part 2 of my "What I wish I'd known" story. If I were to summarise what I hope I put across in part 1, it's this: level your bed. Then level it again. Then again. And keep levelling it until you see "the squish". Then use bed adhesion. Then watch out for any reason at all that you need to level your bed again. Also keep an eye on other kinds of physical maintenance. Oh and never ever poke, prod and accidentally unplug cables while the printer is switched on just because it might prevent you having to stop a print that's been going for four days.
So... only after I had followed my own advice above, should I have started messing about with the software. A huge mistake I made was to rush through a half-arsed attempt at levelling the bed and then try fixing my adhesion problem by constantly re-writing my gcode.
Slicing
Our 3D models need to be sliced up into files that 3D printers can use, like a sculpter carving a bust out of a ream of photocopier paper. My printer came with Creality Slicer, but the go to program is Ultimaker Cura apparently, so while my 3D tumbleweed machine was at peak production I was opening up Ultimaker and tweaking settings all over the place. Sometimes at random and usually out of desperation because it was like looking at a feed from the Matrix to me. "Retraction? Oh aye, it's probably the nozzle that's knocking the print off the bed. Whack the retraction up so it skips over instead".
I really knuckled down and started to learn about the settings when I was seriously trying to get my ATX motherboard to stop warping. By then I'd finally had the sense to open Ultimaker and Creality Slicer side by side and start comparing settings because I'd at least had some half successes with Creality gcode files. I'd also read all sorts of internet tips, mostly saying what a wonderul panacea a heated bed was. Whenever a print failed, I would just up the nozzle and bed temperatures by 5 degrees.
This is the story of me wising up and figuring out what slicer settings actually improved my printing. I'm not offering these numbers up as the holy grail of infallible printer settings or anything. My point really is to show how far adrift my aimless meddling had taken me. From now on I'll be printing at as low a temperature as I can manage, which is the opposite to where I'd got to. I also believe these are the main settings I should have confined myself to when I was struggling to complete a print.
Orientation
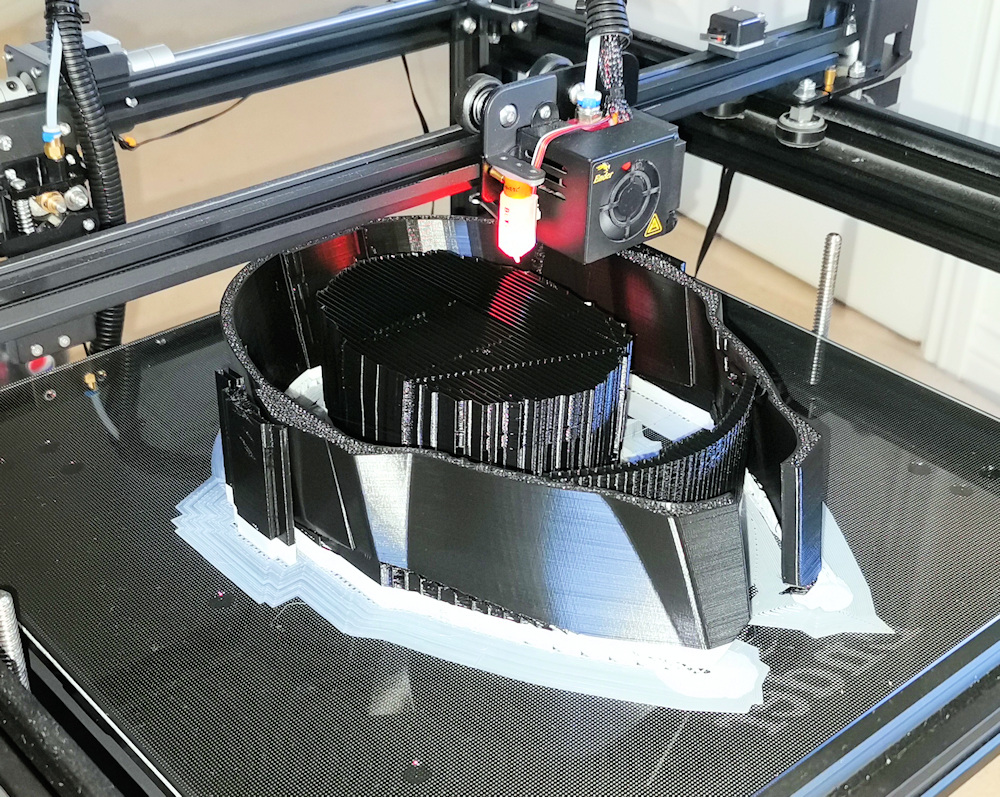
Shown on here is a picture of how I printed my Mandalorian helmet. It wasn't just that this is the correct way up for a hat, I was also struggling with bed adhesion at the time and this seemed the best way to get a lot of surface area. What this shows is why my print was going to take so long and use up so much filament. All that support, all the way up to hold up the dome when I could have printed it upside down like a bucket and required minimal supports.
Use Skirts to Get Your Pipes Flowing
I learned to always print at least a skirt, but usually a brim. Same as when painting something I always give a can of spray primer a wee test squirt away to the side, I'd prefer for the lumpy bits of an unprimed printer nozzle to splutter out before my print starts in earnest.
Print Speed
"A well made Ultimaker can print at speeds of up to 250" is something I seem to remember reading. Well, I didn't want to look overconfident by presuming that I'd managed to crack the secret of a well made Ultimaker right from the get go, so the first thing I did was lower that to 200 to show how humble and modest I am. Imagine my surprise when I noticed that Creality Slicer was set to 80 and I looked up the specs for my printer only to have that confirmed as the recommended speed. So, now I print at 80 to 100 with the exception of the brim and the initial layer.
Initial Layer
My first partial successes were with the initial layer speed turned down to 10. I have it at 20 now and if I get confident due to improved bed levelling and my spray glue, I may put it up a bit. I also increased the initial layer thickness to 0.2 for better adhesion.
This Bed is Too Hot
My ATX motherboard mounting plate was causing me big problems. I couldn't stop it warping and lifting so I consulted the internet, which seemed to just keep telling me how great heated beds are; along with really good bed adhesion.
So... I thought I knew the theory. Expanded, hot, molten plastic comes out of a nozzle and goes on to a bed whereupon the differences in temperature between layers and the cooling down of the plastic causes stress that warp my print. Lucky me, I'd chosen the ideal candidate for this to happen by trying to print a huge, flat, square thing with lots of lovely surface area and corners. The first time I left an ATX plate print running overnight I woke up to find I had lost the tip of my BL Touch sensor needle after it caught on a curled up edge.
By now I was printing on a bed heated to 75 because that was what had kept my Mandalorian helmet stuck down for four days before "the Incident". That and a blob of Blu Tac that I put under one of the jaw shields because it had warped and was waving about under the nozzle.
 |
As I watched my third print curl up and listened to that all too familiar crackling noise whenever the nozzle went over it, I wondered if I could heat the bed as high as the nozzle temp and also why the prints curled up at the edges instead of down at the edges and up in the middle. That was my "Aw right!" moment. I had it backwards! The bed of my printer was now 3 times hotter than the ambient temperature of my room. The bottom layer of my print was being kept at a constant 75 degrees and, although the filament was coming out of the nozzle at 200 or more, it was cooling down to room temperature. |
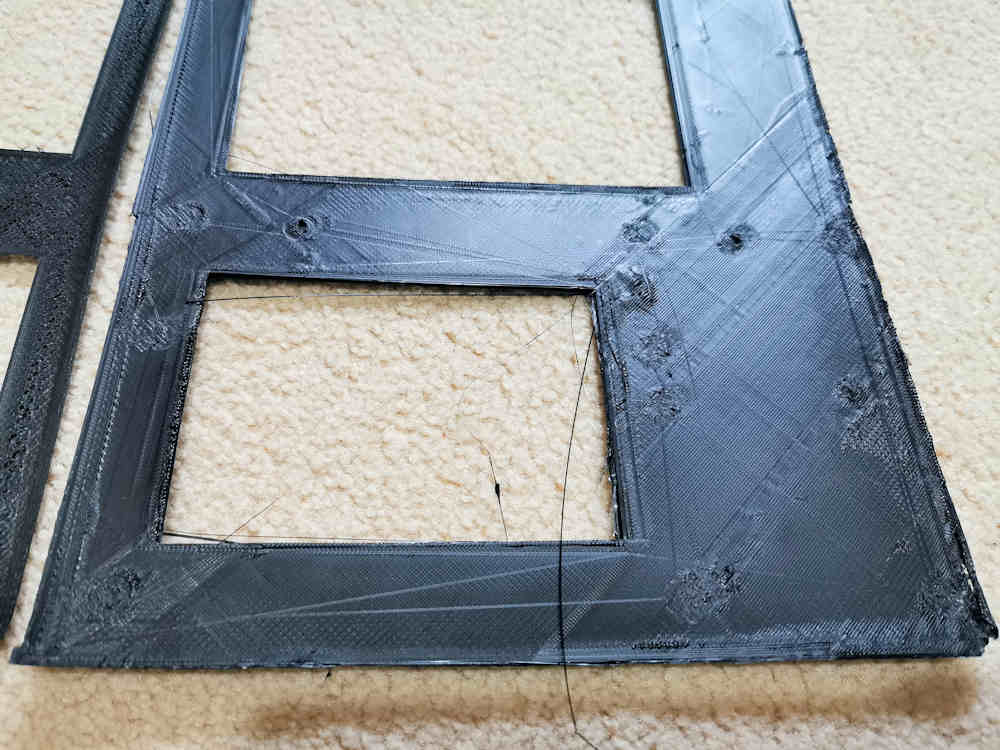
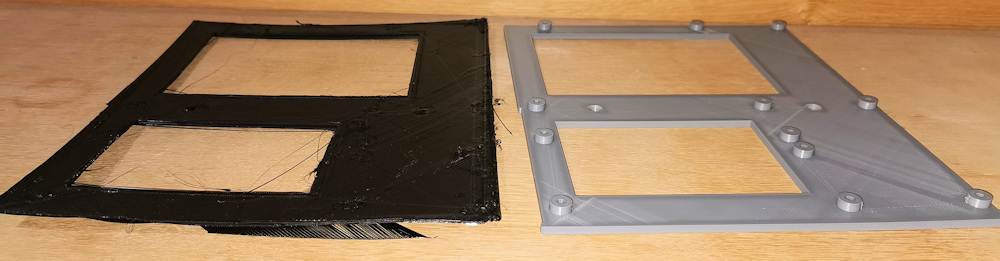
I set the bed to 30 degrees (to take into account the effect of the glass) as well as lowering the nozzle temperature and my next attempt got farther than ever, before warping. What's interesting about that last attempt is that it's obvious there has been some sort of layer shift and there are double images for the round pegs it was just about to print.
Nozzle Temperature
As part of my epiphany above, I lowered the nozzle temperature to 190 and this is now part of my basic setting, along with the fan being off.
Success at Last!
At this point, with settings of:
- initial layer speed of 10
- initial layer thickness about twice standard layer thickness
- skirt ON
- Print Speed of 90
- Fan OFF
- Nozzle temperature of 190
- Bed temperature of 30
- Eco OFF (I'm now wondering if I could turn Eco mode back on, but I don't have the guts to do it).
...I sprayed the bed with my new bottle of 3DLAC, removed my Eryone filament, loaded my new ?SUNLU? PLA, levelled the bed another couple of times and set it going.
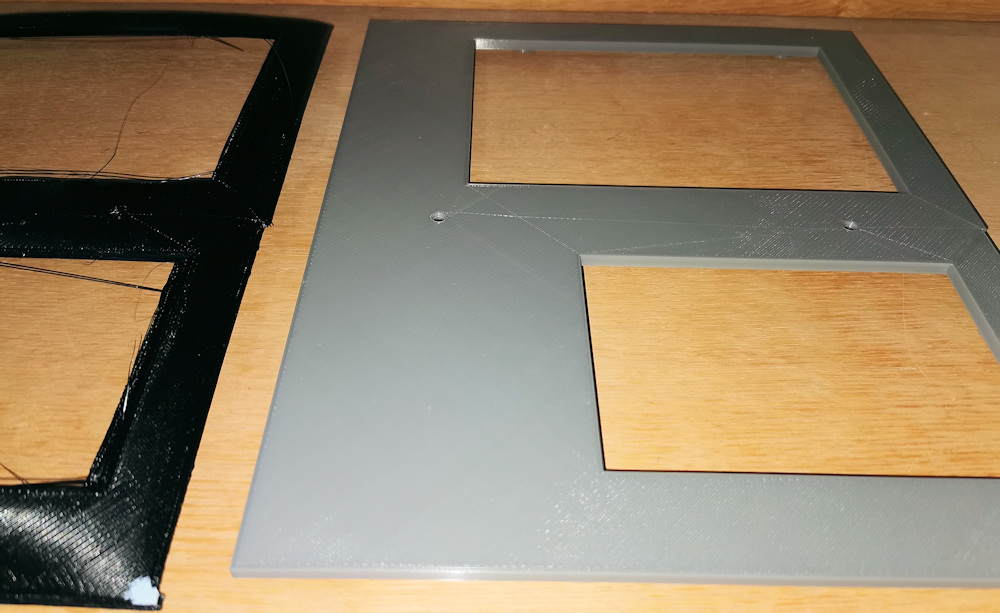
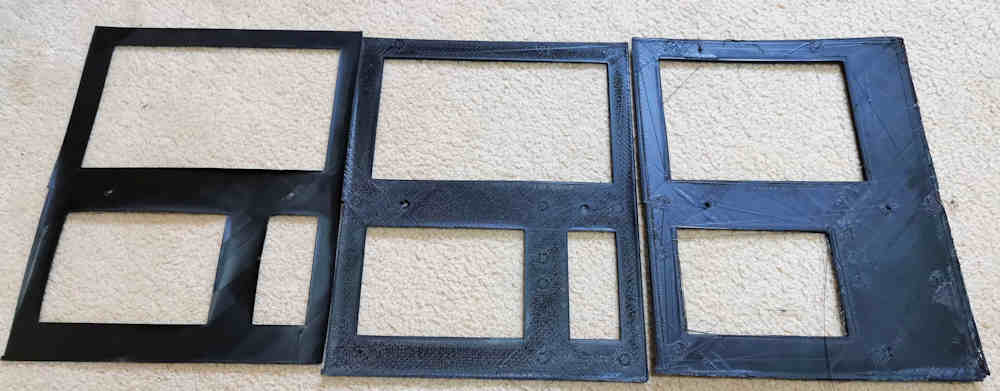
It came out perfect. I mean properly perfect in every way. The bottom was as smooth as my glass bed, every edge was smooth, sharp and square. I'd even got my ATX holes in exactly the right places in Freecad. I realised that I had become resigned to the fact that 3D printers were so iffy that the best I could ever hope for was a fuzzy approximation of my 3D model. Something that hopefully wasn't too badly warped and unusable, like a document that is a photocopy of a photocopy of a photocopy.
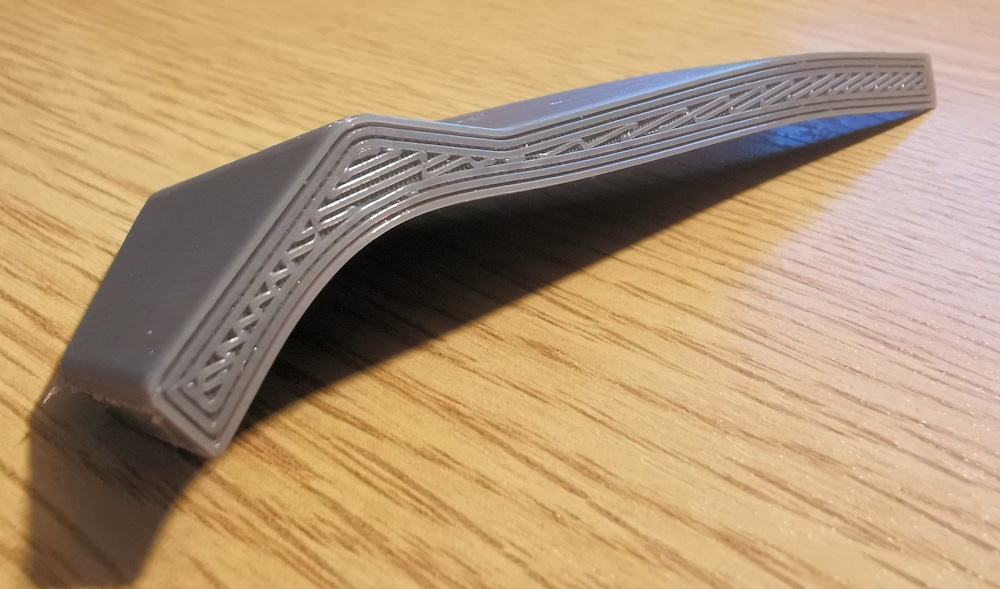
But... here was my ATX board looking exactly like my FreeCAD drawing. I was so bouyed that I immediately printed my ATX PCI shield model and it came out the same. Then I did some Mandalorian helmet repairs and a bendy shark. What amazed me most was seeing the pattern I watched being laid down in the initial layer preserved in the finished item.
 And...?
There will be people out there... cynical, sceptical people... who'll ask "Well, what have you proven? Was it the settings? The new PLA? The bed adhesion?". I know I was.
So I printed out the low poly Pikachu that had given me so many problems before (it being a pre-supplied gcode that came with the printer) and it finished without a hitch.
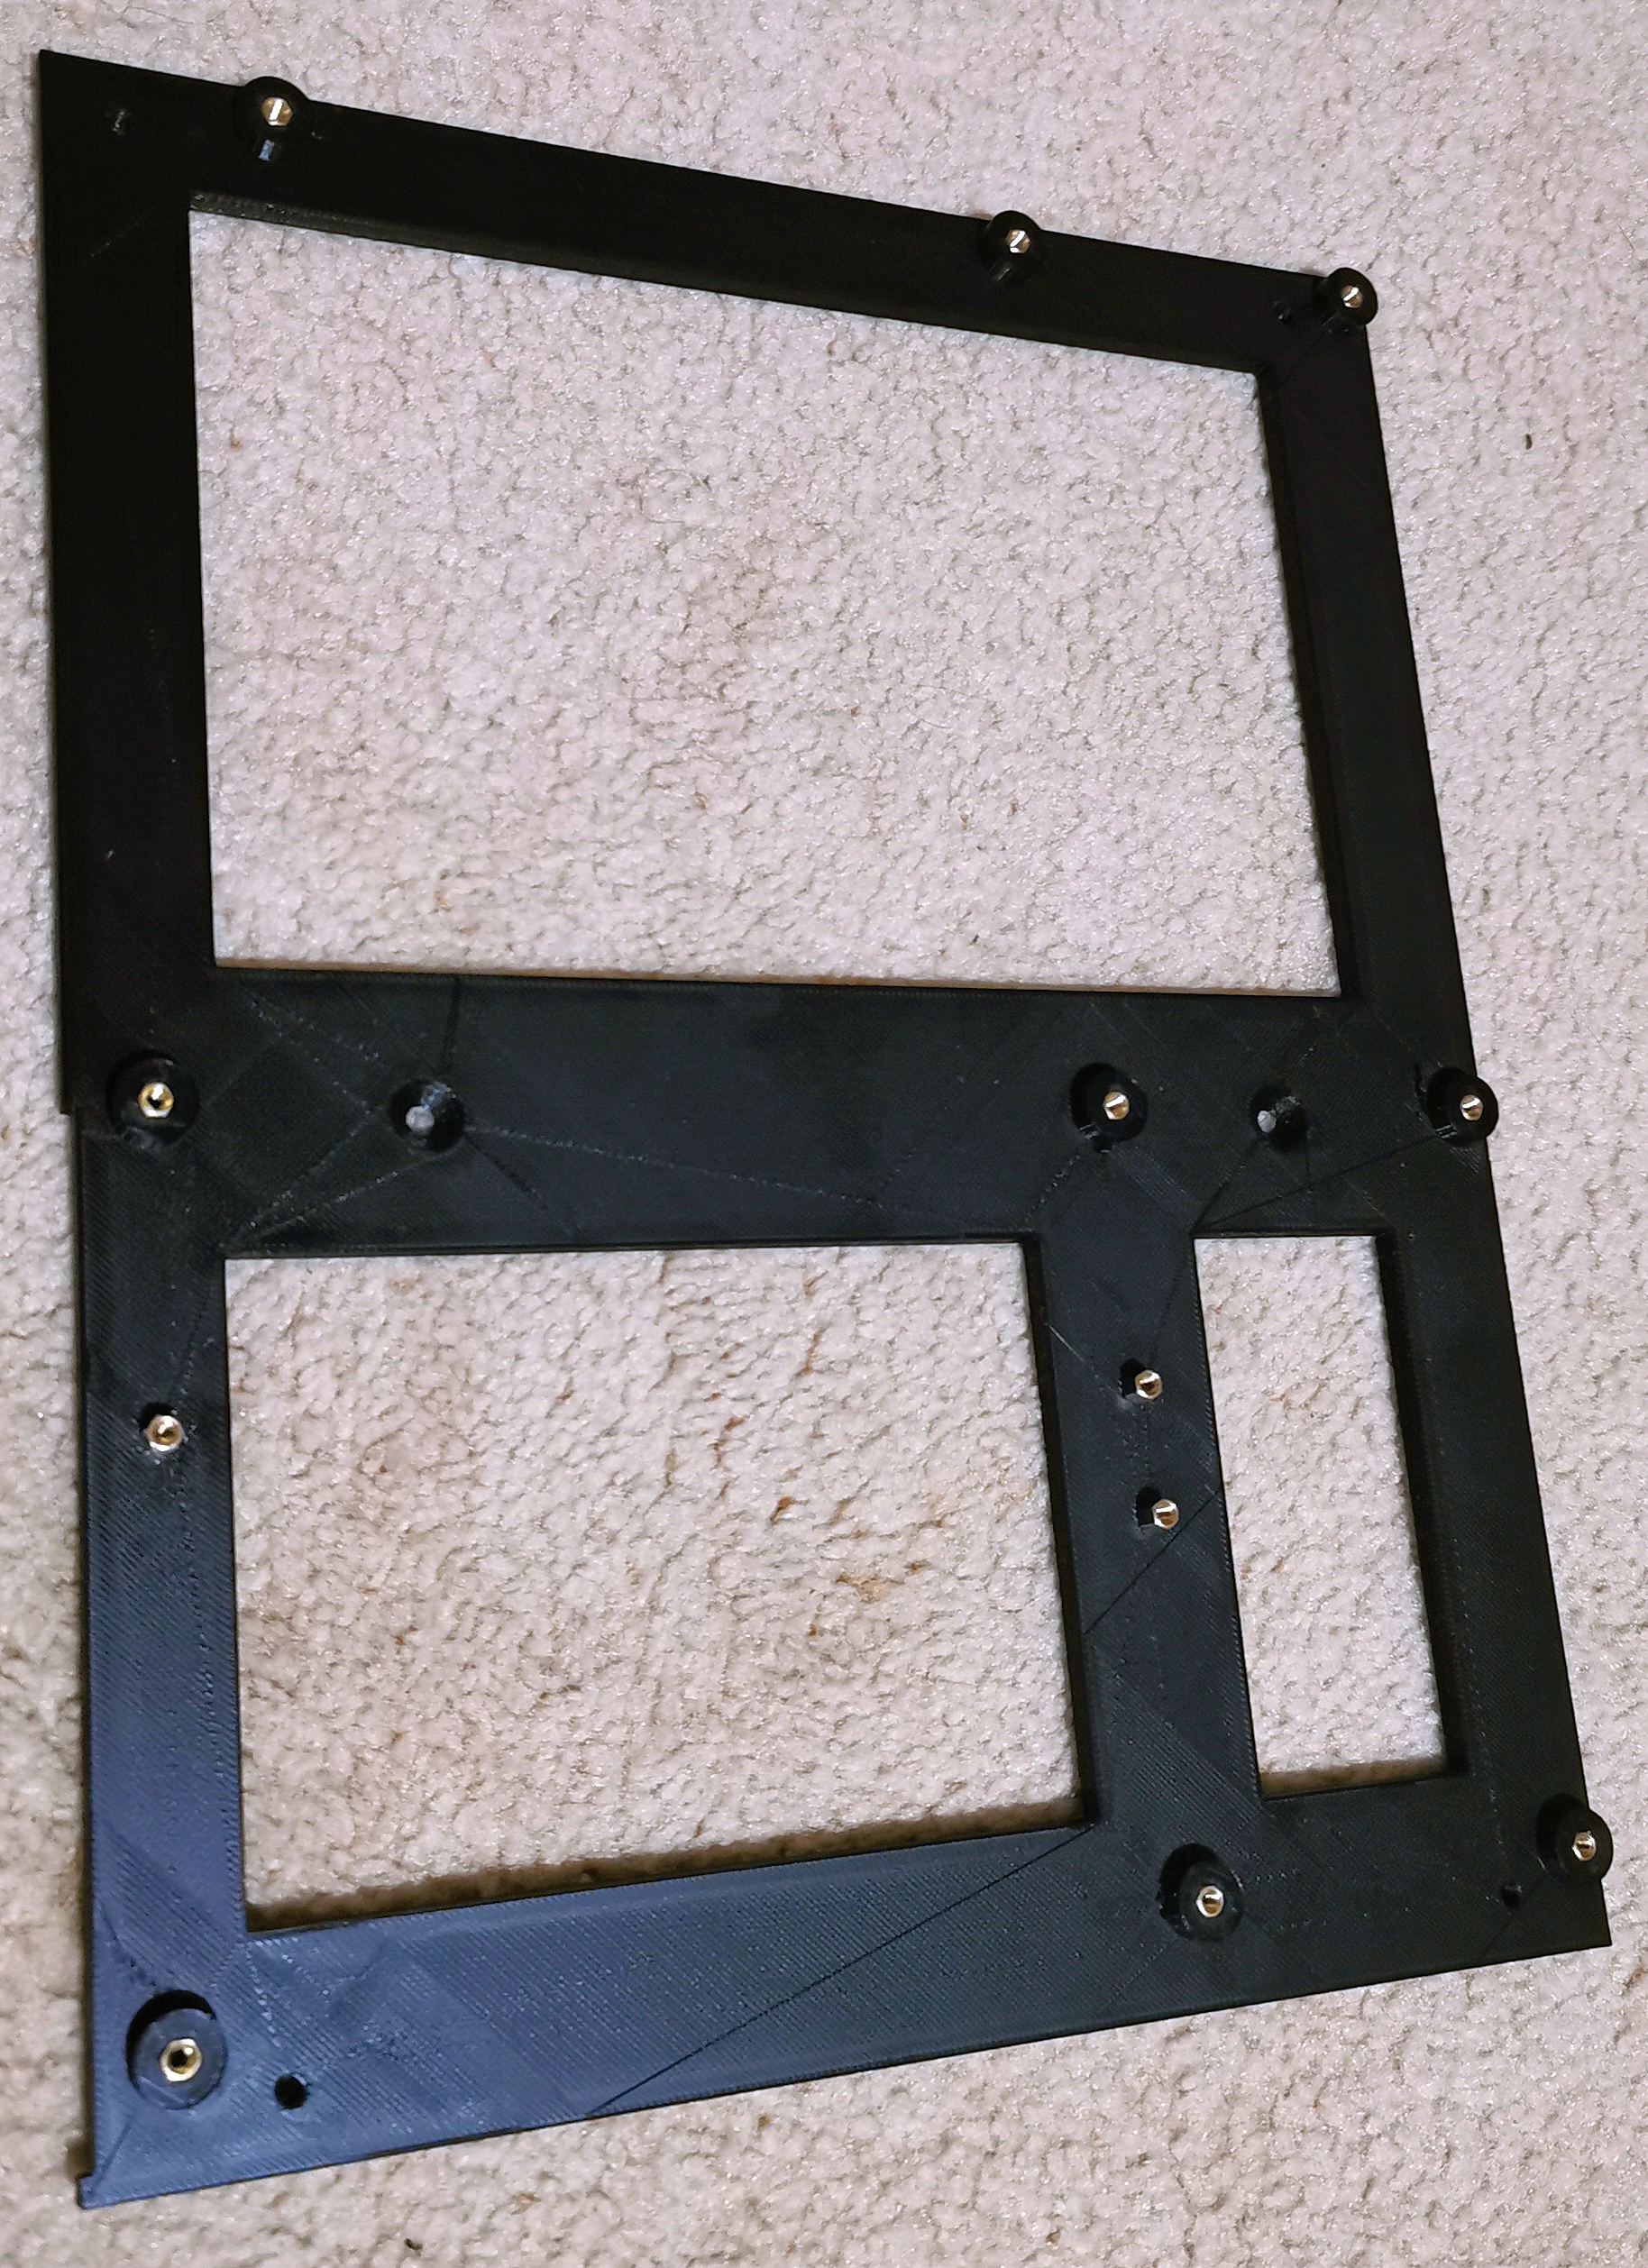
I then put the black Eryone PLA back in the printer and, having tweaked my ATX motherboard plate model, printed the final version. The Eryone gave me the same squish and the same perfect result as the Sunlu.
Happily Ever After
So, that's the end of my "What I wish I'd known" list really, since I'm now successfully printing on a regular basis. Thank you, if you took the time to read my story. I hope it entertained and helped. If you are an experienced 3D printer, you're probably thinking "This guy should never have been let loose with a 3D printer. There should be a licence with a competence test or something". If you are just starting out, though, hopefully you read this then see and avoid the pitfalls I blundered into. And that's what I was aiming for.
It's obvious that I created problems for myself by neglecting bed levelling and good adhesion and instead blaming heat settings and dodgy filament. My advice to anyone starting out is to get those completely nailed first and foremost and I definitely say buy a bed adhesive. I'd rather spend £8 on a spray and 15 minutes a print washing the glass bed than use up a roll of PLA and spend days upon days of printing with nothing to show for it. I see that there are people out there complaining they can't get their prints off the bed. That would have been bliss! Perhaps that would have let me use the putty knife that came with my printer for something other than chopping up PLA bird's nests to put in the bin?
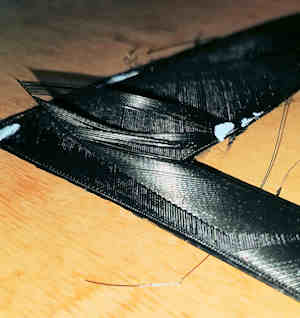
I can't say things are 100% rosy because the stringing problem I've mentioned with the ?Sunlu? is still there and still making me wonder if I've bought fake stuff. The bendy shark from Thingiverse I printed came out hairy, presumably due to being more complex than my straight, flat ATX plates.
I'll be taking a more sensible and informed approach from now on, so I've read up on stringing and I believe that temperature and retractions are the keys. These are higher tier settings for a future article, possibly.